Flow Create Server/Categories/Channel
Flow Diagram

1. Introduction
This guide explains how to:
-
Create a new Discord Server
-
Create Categories
-
Create Channels (Text & Voice)
This tutorial is intended for internal company use (Unit Server Setup).
PART 1 — Create a New Discord Server
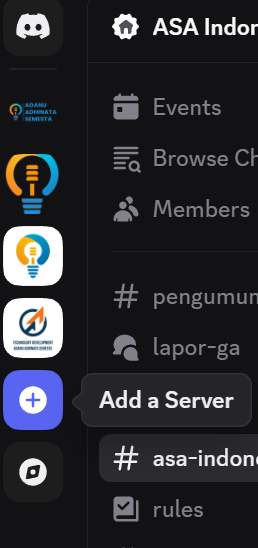
Step 1 — Open Discord
-
Open Discord Desktop App or Web Version
-
On the left sidebar, click the "+" (Add a Server) button
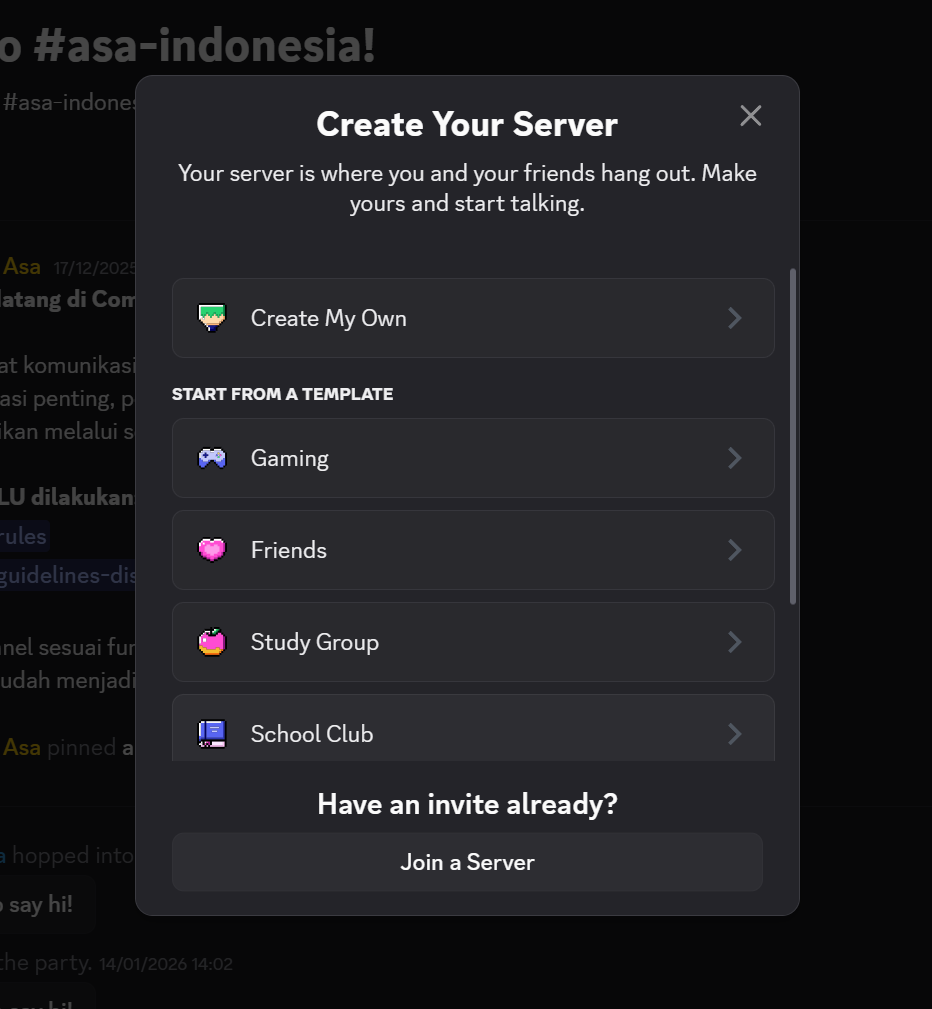
Step 2 — Create Your Own Server
You will see the Create Your Server popup.
-
Click Create My Own
-
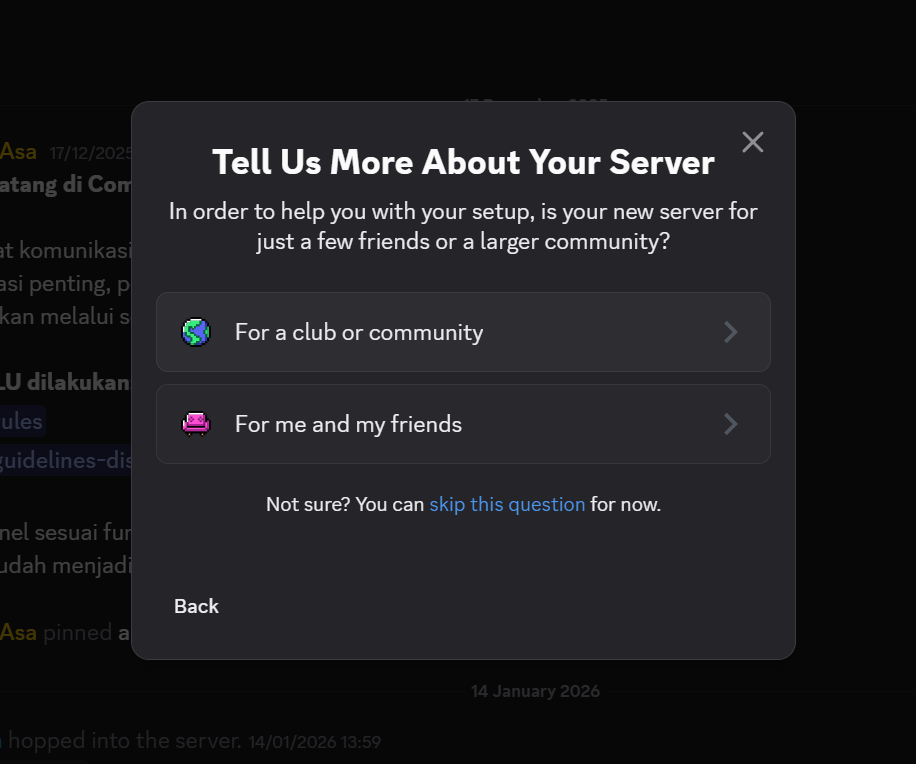
Choose:
-
For a club or community(Recommended for unit server) -
OR
For me and my friends(Not recommended for company)
-
Step 3 — Customize Your Server
Fill in:
-
Server Name → Example:
-
Tech Development Unit -
Marketing & Sales -
HCGA Internal
-
-
Upload Server Icon (optional but recommended)
-
Click Create
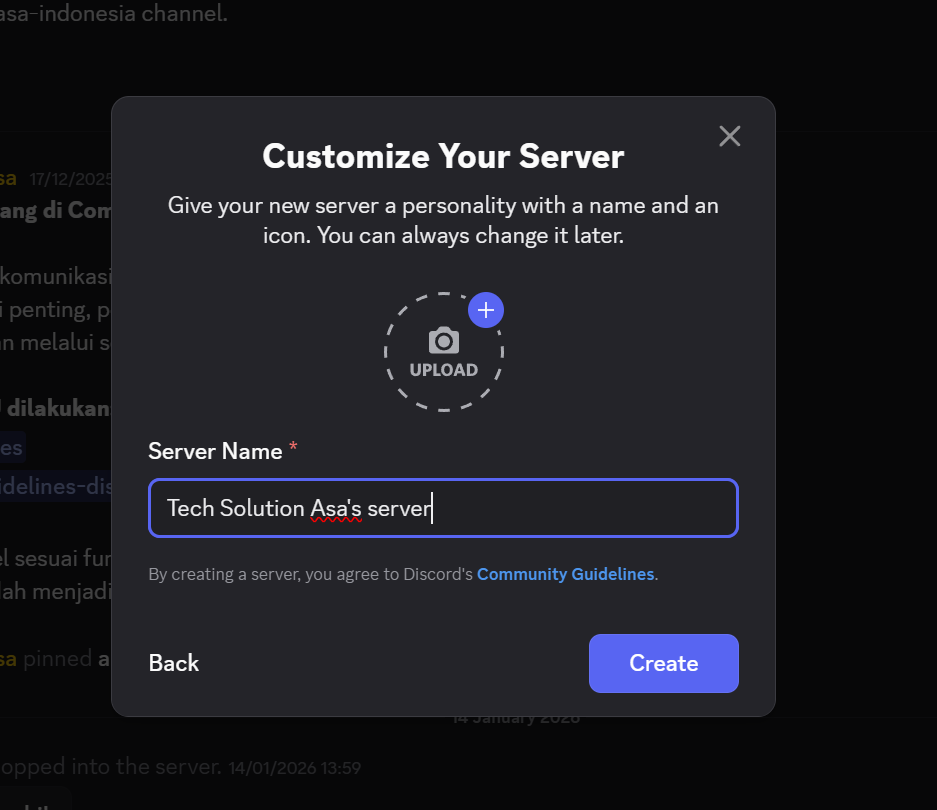

✅ Server successfully created.
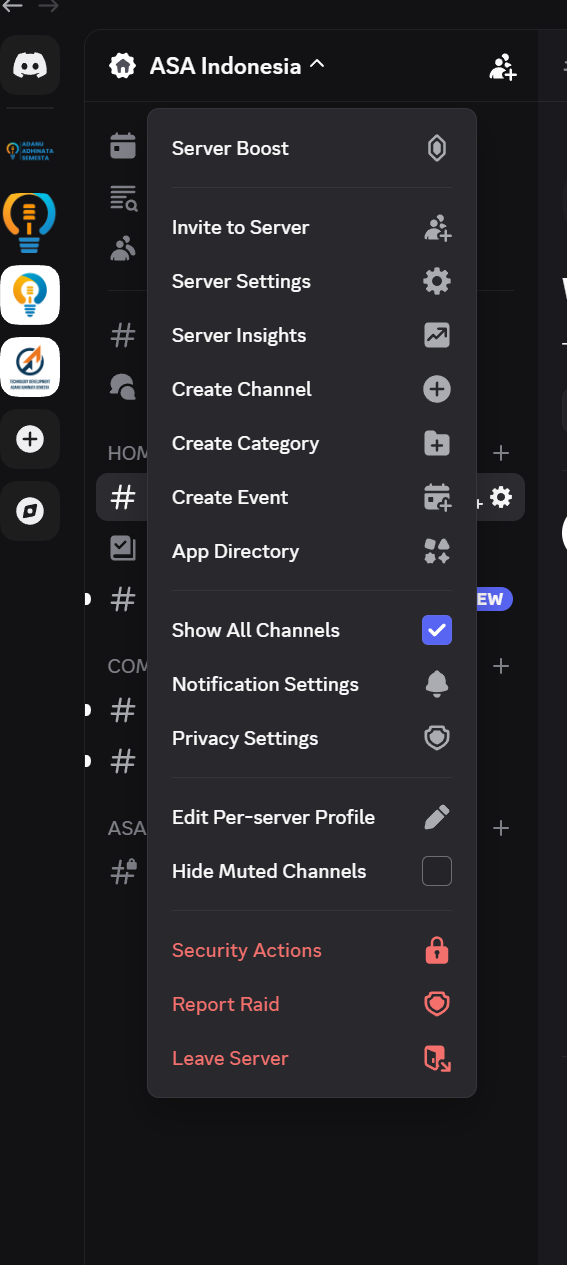
PART 2 — Configure Server Structure
After server creation, you must structure it properly.
Click the Server Name (Top Left) → You will see:
-
Server Settings
-
Create Channel
-
Create Category
PART 3 — Create Categories
Why Use Categories?
Categories help organize channels by function.
Step to Create Category
-
Click Server Name
-
Click Create Category
-
Enter Category Name
-
Click Create Category
Repeat for each needed category.
PART 4 — Create Channels
Channels are created inside categories.
Types of Channels
-
Text Channel (#)
-
Voice Channel (🔊)
-
Announcement Channel (optional)
Step to Create Text Channel
-
Hover over Category
-
Click "+"
-
Choose Text Channel
-
Enter channel name (lowercase, dash-separated)
Example:
-
#pengumuman -
#daily-report
Click Create Channel
Step to Create Voice Channel
-
Hover over Category
-
Click "+"
-
Choose Voice Channel
-
Enter name
Example:
-
Weekly Meeting -
Daily Standup
Click Create Channel